
How to create an animated smoke text with Autodesk Smoke

Date: June 2013
Author: Hugues Wisniewski
Viewed: 20354 times
Comments: 0
Author: Hugues Wisniewski
Viewed: 20354 times
Comments: 0
Here's a tutorial showing how to create a smoke text with Autodesk Smoke, using a few simple nodes to animate the text: Glow, Blur, 2 different Deform nodes, GMask and Blend & Comp.
The day I knew I’d soon finally put my hands on Autodesk Smoke, one the very first things I wanted to try out was a smoke text. This was without knowing that particles were not available in Autodesk Smoke 2013, which would therefore make this attempt quite challenging.
It’s only when I stumbled upon the mDust element page that I discovered the concept of VFX elements. If dust was doable, a smoke element might exist somewhere too. A quick Google search, and there I found a free smoke element on Video Copilot
The remaining challenge was to turn a regular text into a smoke text, and make it look like the moving smoke element would spit it out and make it fall and rest on a flat surface located slightly behind.
 The process starts from a regular static text showing 'Cut & Finished with Smoke', and formatted so that it is the end result. The word 'Smoke' glows and is brighter in order to make it stick out a bit and have the viewer’s attention focus on it.
From that point on, the goal is to tear this text apart and distort it like real smoke.
 The next step is to add some Glow to make the edges very diffuse. This Glow effect fades away at some point to reveal the text in its final form, the one we started with.
 Glow is not enough. Some Gaussian blur is added to make the text look even less neat. Like for the Glow node, this effect also fades away to reveal the text in its final form, using key frames positioned at the same spots.
 The Deform node, with the Ripple type, creates a bulge on the text, used to simulate the change of depth between the spot where the smoke exhaust spits out the text, and the background where it falls down to. The center of the ripple creates the top of the bulge. It is animated along the horizontal central axis of the text.
Another Deform node with the Crumple type, tears apart the text edges and deforms them to make the text barely readable. Octaves are set to the highest value, and the Input Transform position moves a bit along the text, but not too much, to create subtle waves in the distorted text letters. The letters have to slightly move, there’s quite a bit of experimentation needed there in order to find the right amount. I could imagine that combining this with yet another Deform node and Crumple type would provide interesting results too. I felt like using only one was enough to reach my goal.
 A GMask node reveals the text as the bulge created by the Deform Ripple node moves along the text. The two have to move along at almost the same speed. The GMask can be manually adjusted later on depending on where the smoke element shows the highest density of smoke. This might not match exactly the movement of the ripple.
 The smoke element is added on a top layer. Video Copilot hosts a free 720p copy. The project was in 1080p. I had to Resize it and use a Color Correct node to enhance the highlights a bit. I also added a Blur node with some minor Gaussian blur to soften the square upscaled pixels of the resized original video footage.
 Text and element were blended together using a Blend & Comp node.
After that, the text and the smoke did not match perfectly. The text was too bright. I went back to my GMask node and changed its opacity to make it grayer and match the smoke element. This, up until the smoke element fades away, at which point the opacity comes back to 100%.
Then a soundtrack of some recorded rolling thunder was added, using the equalizer to enhance the 80Hz to 200Hz range, also adding some slight reverb.
End result of the animated smoke text
Also available on YouTube
How it was done
Also available on YouTube
The day I knew I’d soon finally put my hands on Autodesk Smoke, one the very first things I wanted to try out was a smoke text. This was without knowing that particles were not available in Autodesk Smoke 2013, which would therefore make this attempt quite challenging.
It’s only when I stumbled upon the mDust element page that I discovered the concept of VFX elements. If dust was doable, a smoke element might exist somewhere too. A quick Google search, and there I found a free smoke element on Video Copilot
The remaining challenge was to turn a regular text into a smoke text, and make it look like the moving smoke element would spit it out and make it fall and rest on a flat surface located slightly behind.
Text
From that point on, the goal is to tear this text apart and distort it like real smoke.
Glow
Blur
Deform Ripple
Deform Crumple
GMask
The Smoke Element
Blend & Comp
After that, the text and the smoke did not match perfectly. The text was too bright. I went back to my GMask node and changed its opacity to make it grayer and match the smoke element. This, up until the smoke element fades away, at which point the opacity comes back to 100%.
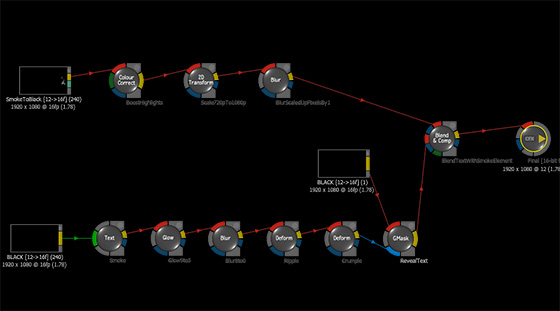
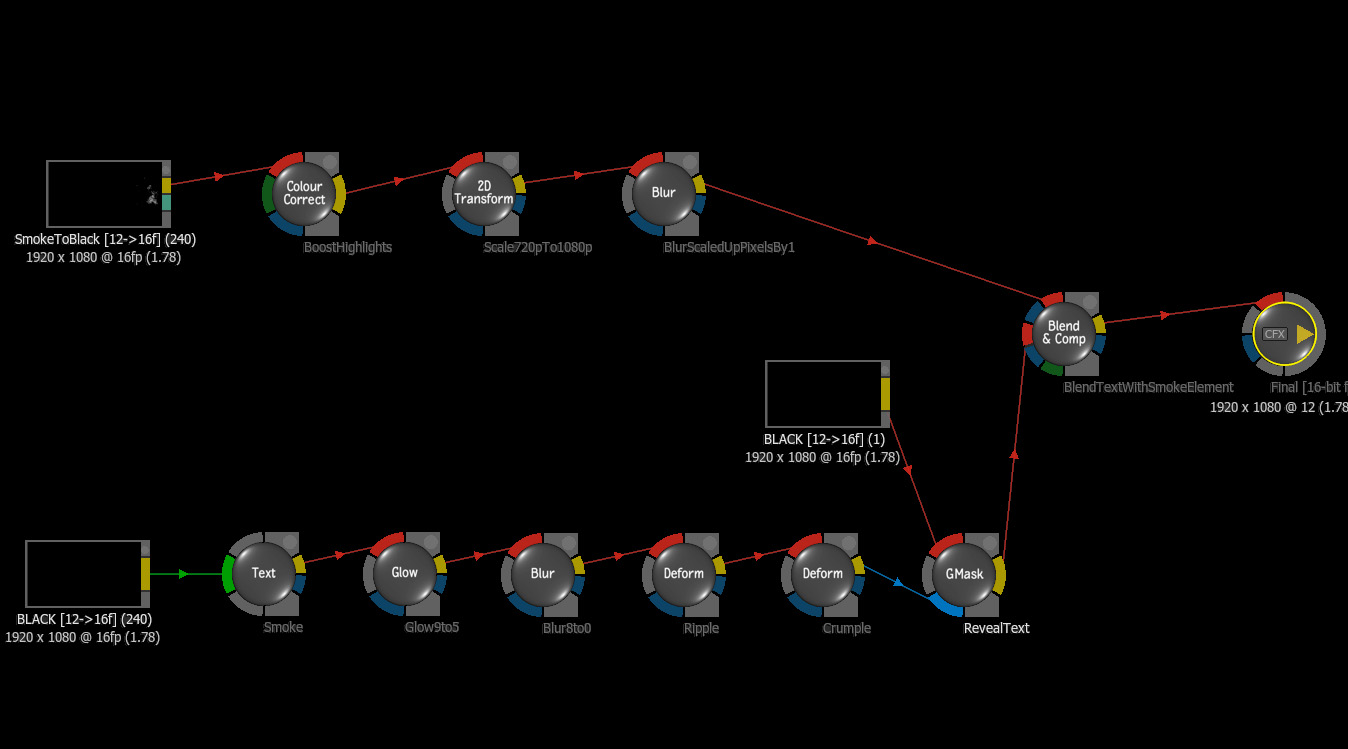
The complete ConnectFX setup
The reason why the BLACK input is duplicated and added next to the GMask node is simply for clarity purposes.
Then a soundtrack of some recorded rolling thunder was added, using the equalizer to enhance the 80Hz to 200Hz range, also adding some slight reverb.
The making of the tutorial
Making this quick tutorial was a whole new experience in itself. As you might already know, the wipe transition doesn't have borders and there's no option to easily do so. But as noted in other places online, Smoke allows you to build your own custom transitions with endless possibilities.
That’s how I managed to create the smoke wipe transition. For that matter, I used the technique detailed in this
Custom Transitions
tutorial from the Smoke Training channel. The smoky vertical bar for the wipe effect is done the same way the animated smoke text was done. It’s a simple text with the ‘I’ letter, with the Glow, Blur and Deform Crumple effects, animated along the horizontal axis with a 2DTransform node. The Crumple effect is slightly animated to make the smoke bar change shape between frames.